DIY Skincare: How to Dermaplane at Home – Your Step-by-Step Guide for Glowing Skin
Unlock the secrets to professional skincare at home with our comprehensive guide on how to dermaplane. Say goodbye to unwanted peach fuzz and hello to radiant, smooth skin! In this step-by-step tutorial, we’ll walk you through the art of dermaplaning, making it easy to achieve that spa-like glow without leaving your home.
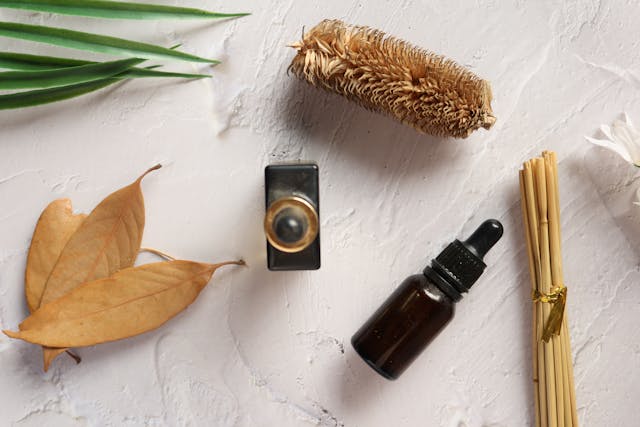
Step 1: Gather Your Supplies Collect the necessary tools, including a high-quality dermaplaning tool (like the Schick Hydro Silk Dermaplaning Wand), a clean towel, a mild facial cleanser (like Fount Society’s Gel Cleanser), and a moisturizer (like Fount Society’s Water Cream).
Step 2: Cleanse Your Face Start with a gentle facial cleanser to remove any makeup, dirt, or oils from your face. Pat your skin dry with a clean towel.
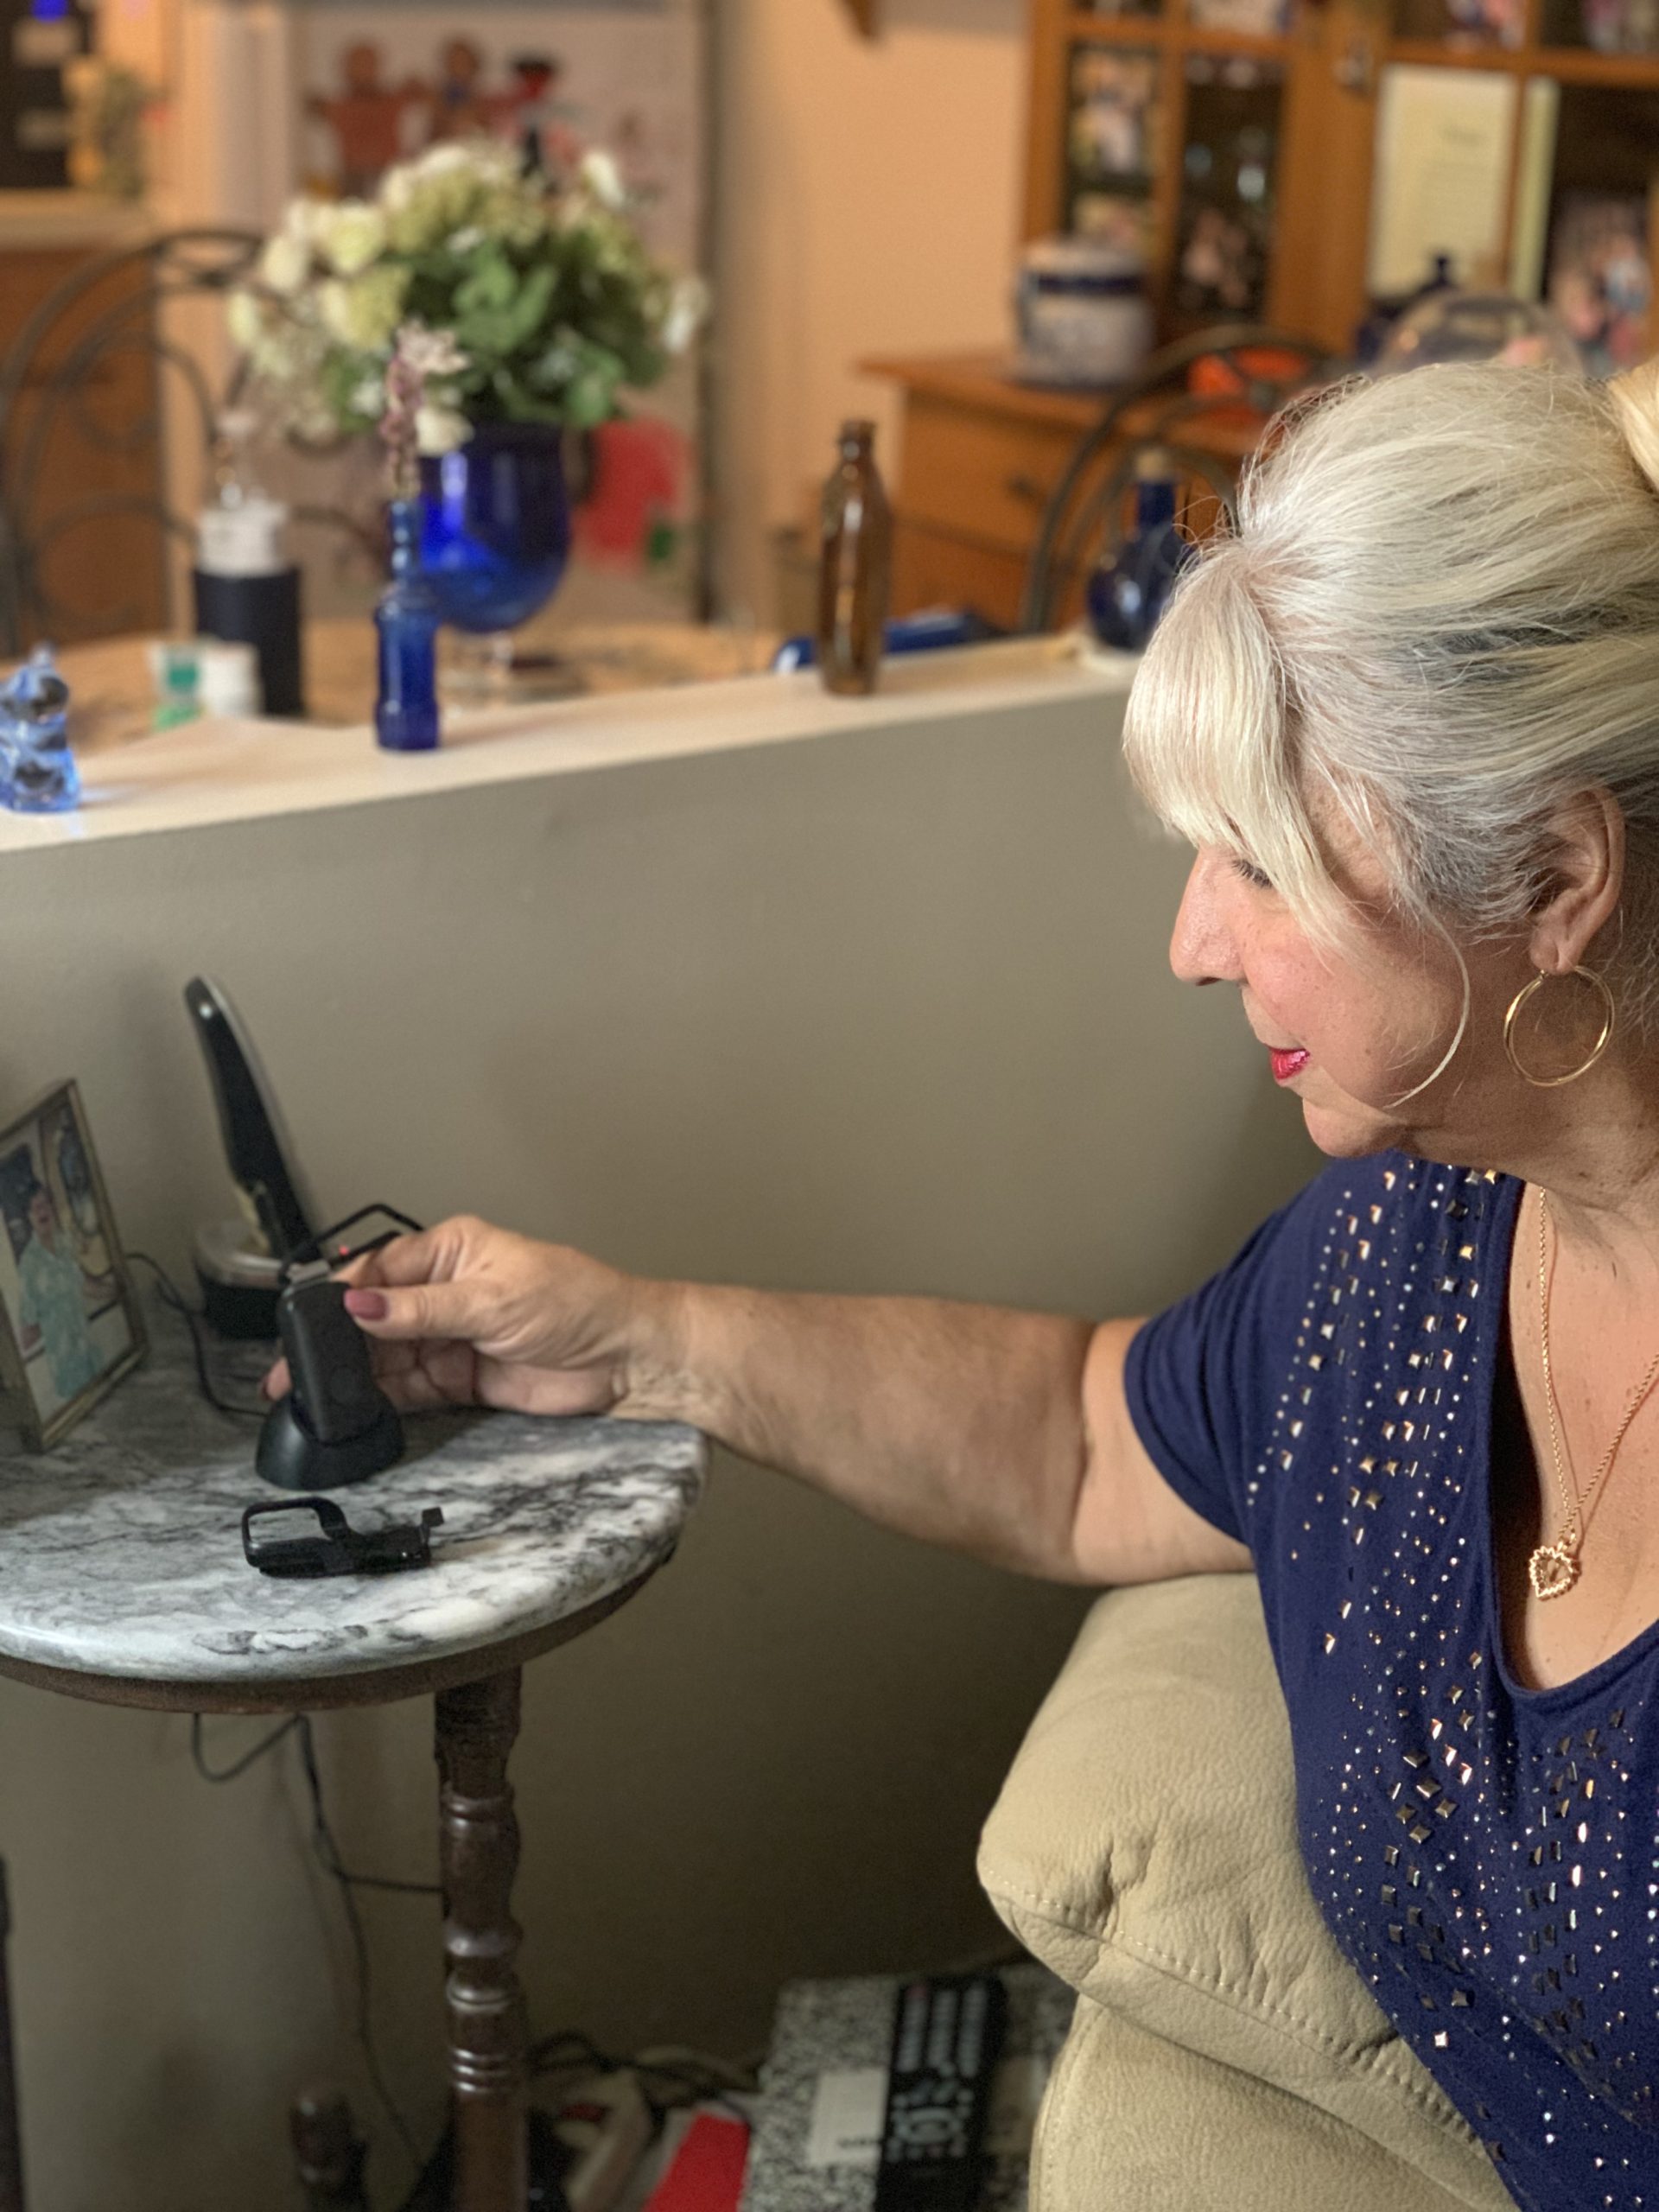
Step 3: Prep the Dermaplaning Tool Hold the dermaplaning tool at a 45-degree angle to your skin. Ensure it’s clean and sterile before starting.
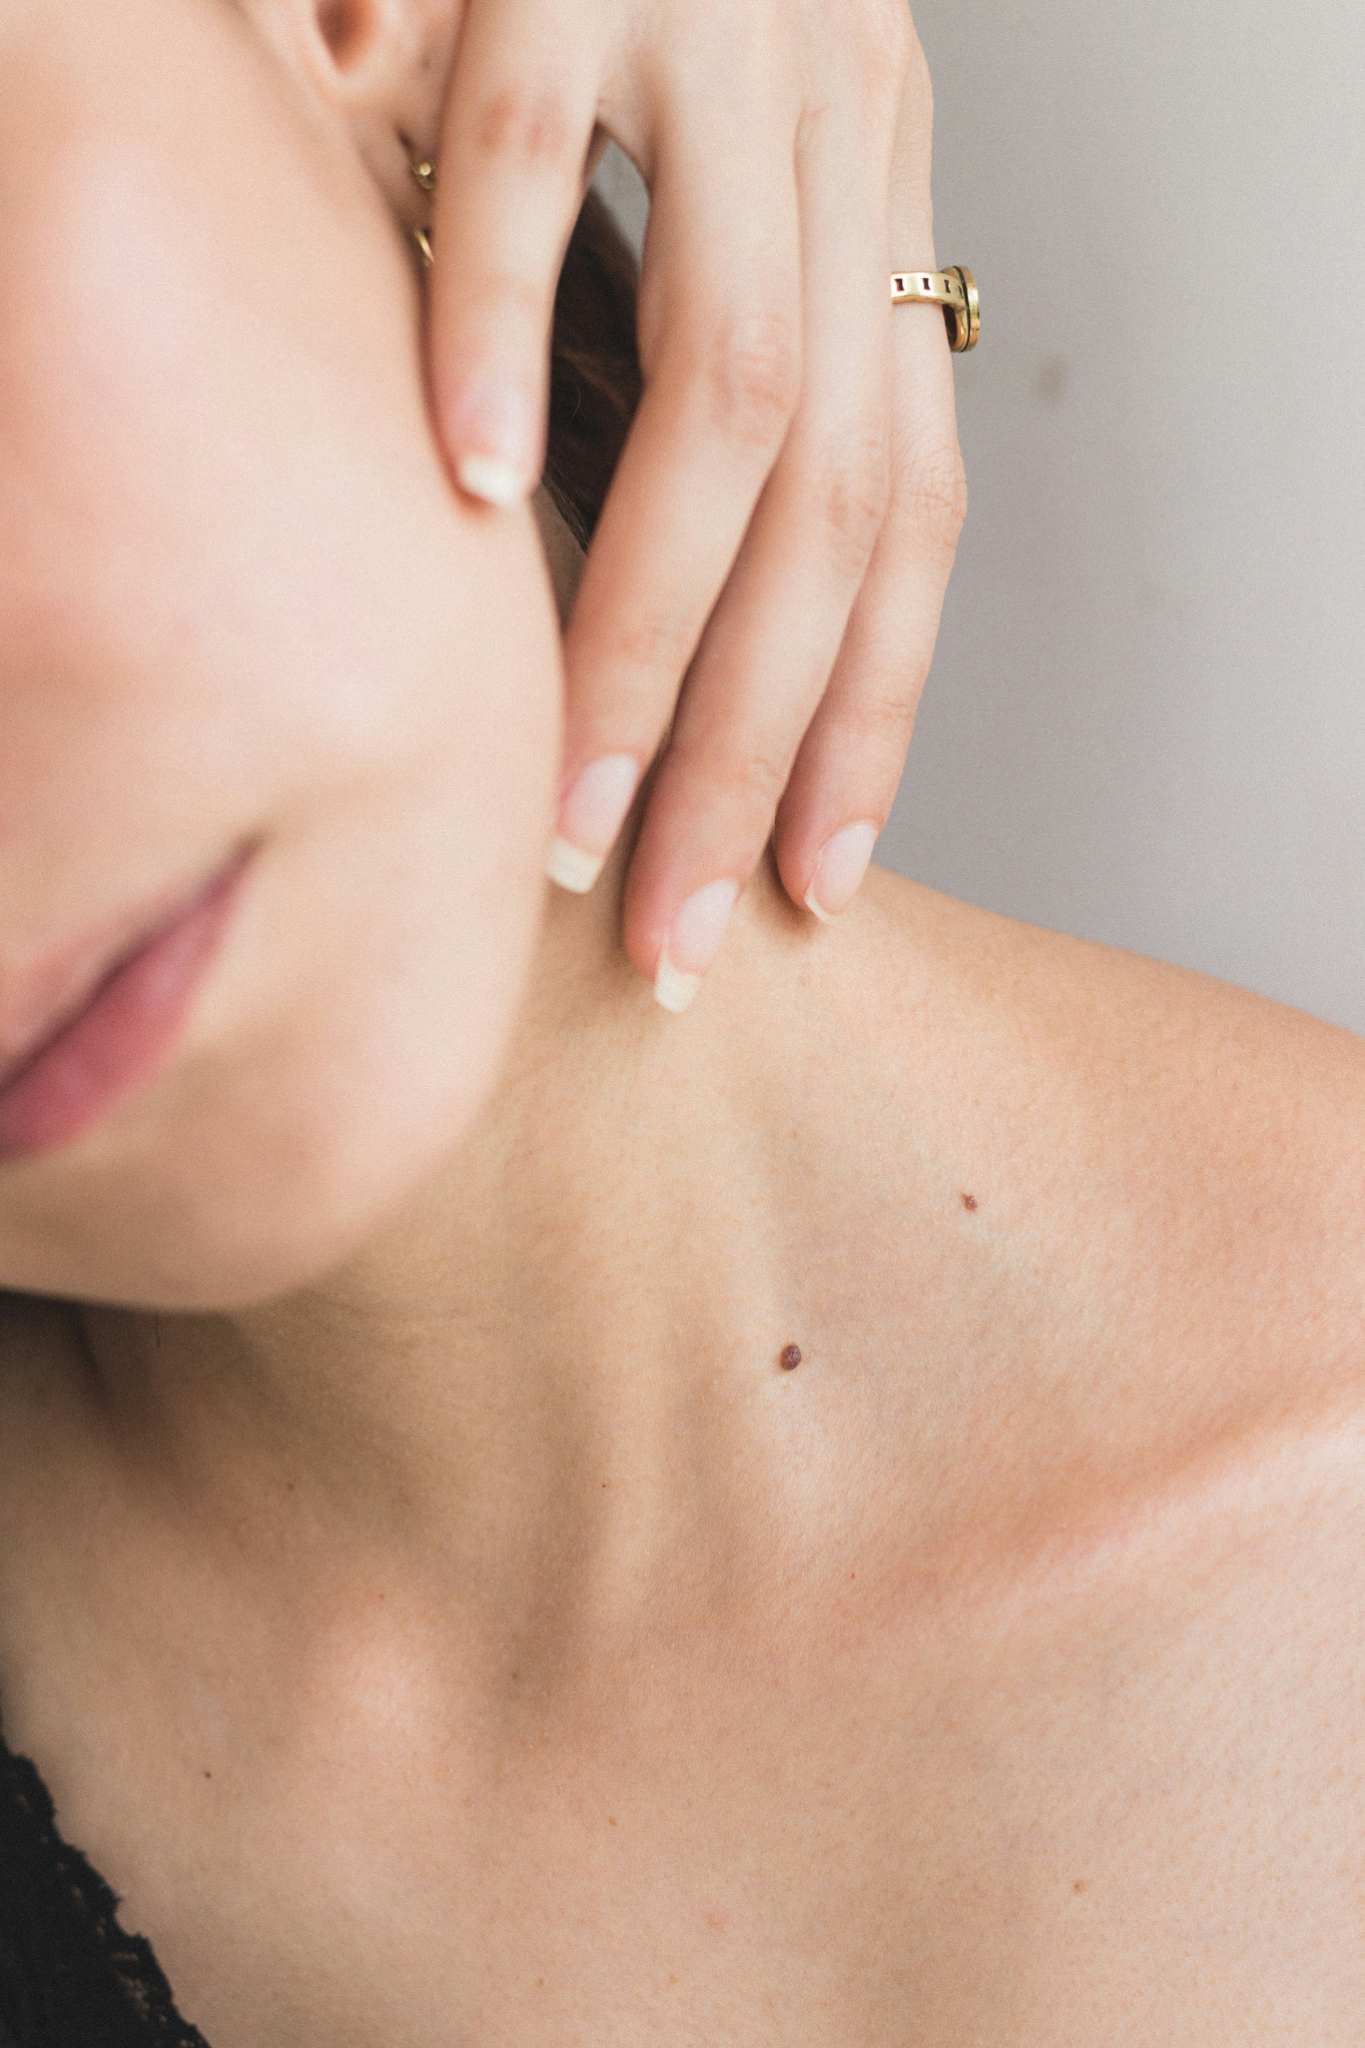
Step 4: Stretch Your Skin With one hand, stretch the skin tightly in the area you’ll be dermaplaning. This helps create a taut surface for the tool to glide smoothly.
Step 5: Begin Dermaplaning Hold the dermaplaning tool in your other hand and use short, feathering strokes. Start at your forehead and work your way down to your jawline, moving in the direction of hair growth.
Step 6: Repeat on Each Section Continue dermaplaning each section of your face, keeping the skin taut and using gentle, controlled movements. Avoid going over the same area multiple times to prevent irritation.
Step 7: Pay Attention to Sensitive Areas Be cautious around sensitive areas like the eyes and lips. Avoid dermaplaning over active acne or irritated skin.
Step 8: Rinse and Moisturize Once you’ve completed dermaplaning, rinse your face with cool water and pat it dry. Apply a soothing and hydrating moisturizer to nourish your skin.
Step 9: Clean and Store Your Tools Clean the dermaplaning tool thoroughly with rubbing alcohol or an antiseptic solution. Store it in a clean, dry place for future use.
Step 10: Follow Up Care Avoid direct sun exposure immediately after dermaplaning and apply sunscreen if you need to go outside. Continue with your regular skincare routine, avoiding harsh products for the first day.
Note: If you’re new to dermaplaning, it may be helpful to consult with a skincare professional for additional guidance. Always prioritize cleanliness, and if you have any concerns or skin conditions, consult with a dermatologist before attempting dermaplaning at home.
Learn the fundamentals of dermaplaning, including what it is, its benefits, and why it’s become a popular at-home skincare practice in our Unlock Radiant Skin: The Incredible Benefits to Dermaplaning at Home Blog Post.